Follow the steps below to add the landing page if you offer Openpay instore only.
After installing the Openpay widgets library on your website, initialise the library by configuring it with the correct purchase limits, plan tiers, etc.
Note: The Openpay widgets library should be loaded on your website before you configure it.
<html>
<body>
<!– Load the widgets library –>
<script src=”https://widgets.openpay.com.au/lib/openpay-widgets.min.js”></script>
<!– Initialise the widgets –>
<script>
OpenpayWidgets.Config({
region: ‘AU’,
currency: ‘$’,
planTiers: [2, 3, 4],
minEligibleAmount: 1,
maxEligibleAmount: 1500,
type: ‘Instore’
});
</script>
</body>
</html>
Important note:
Check with Openpay Account / Ecommerce Manager for your Plan Tier configuration, above values are just for demo purpose.
Add the Openpay HTML tag on your page just like any other HTML element for Openpay Landing Page content.
<opy-landing-page></opy-landing-page>
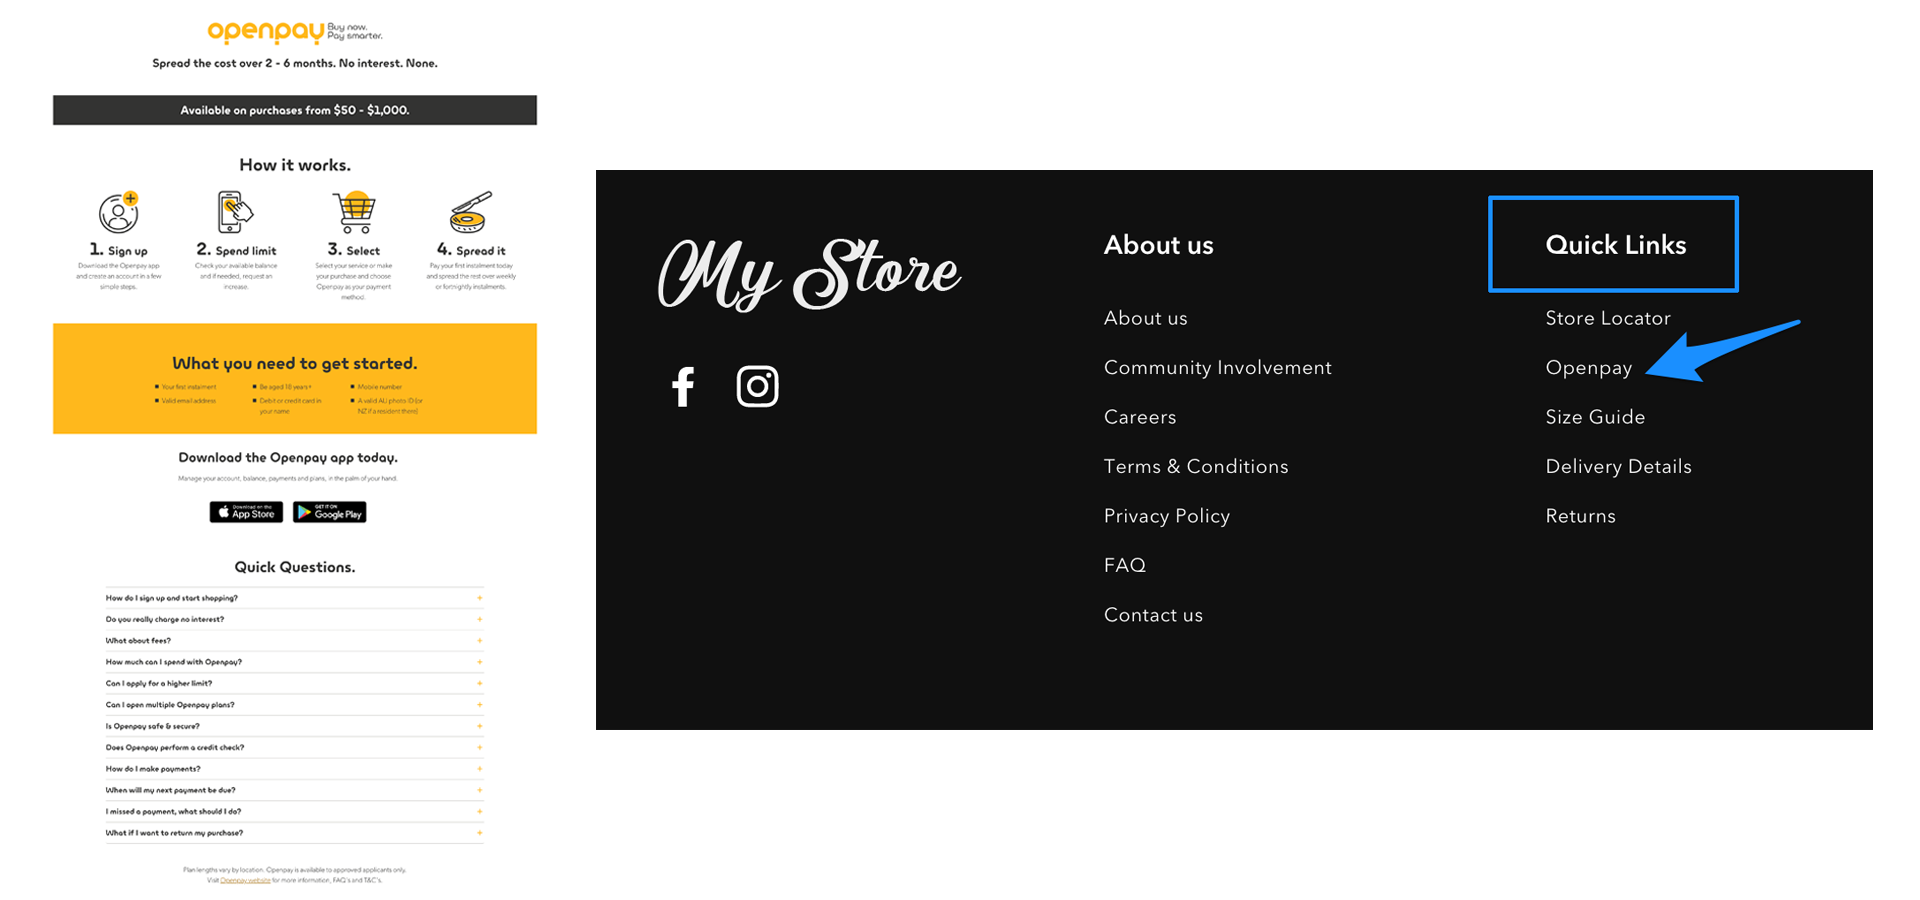
After publishing the landing page, the next step is to add a Quick Link to the footer, linking to the Openpay Landing Page.
It’s important for your customers to access the landing page and read more information about Openpay.
(Please make sure the tab is written as Openpay one word.)
The entire suite of digital banners can be found here.